Setting up Umami analytics on Linux using Docker

Update: For quite some time now, the need to build a custom docker image for your database type is no longer there, as the images are now prebuilt. That means you can simply use ghcr.io/umami-software/umami:postgresql for example when using a psql database. Consult the official Umami docs for the new way of setting it up, which is way simpler.
Setup
To get a quick introduction to Umami, head over to Umami docs to have a look at what it offers. The documentation is simple and to the point, so getting familiar with it was a breeze.
In this guide we are using the Docker based setup, as I personally use Traefik with the Docker backend for many of my services.
First, make sure you have Docker and Docker Compose installed on your host as well as an appropriate reverse proxy like nginx or Traefik set up to serve the app, as Umami does not do TLS termination. Then proceed to clone the repository, as we will need to grab the SQL Database schema when initializing our PostreSQL container.
git clone https://github.com/mikecao/umami.git
At the time of writing this post, there was a bug in the GeoIP npm package used in the currently latest available container, so I had to build a custom image from master to resolve a crash. We will go over the steps in the building image from source chapter should it become necessary to do so.
Log into the host machine and create our directories:
ssh <my_host>
mkdir -p /opt/umami/sql
cd /opt/umami
Copy the docker-compose.yml file from the repository into /opt/umami/docker-compose.yml and the sql/schema.postgresql.sql file from the repository into /opt/umami/sql/schema.postgresql.sql on the host.
Open up the docker-compose.yml file in your favorite editor, and change HASH_SALT to a random string of garbage.
environment:
  HASH_SALT: replace-me-with-a-random-string
I also recommend changing the default exposed port to something other than the standard port 3000:
ports:
  - "12764:3000"
Now start the application:
cd /opt/umami
docker-compose up -d
Check that you can access Umami through your chosen reverse proxy (nginx / Traefik etc). Do not use any form of auth in front, as Umami has its own user database and of course also needs to post analytics data without any credentials.
Skip the next section unless you experience issues with the current official image and need to build your own from current master.
Build your own image from source
To build a custom image from the currently checked out commit in the repository, run the following command from the git repository, substituting docker username:
docker build -t my_docker_username/umami:latest --build-arg DATABASE_TYPE=postgresql .
If you have a Docker Hub account and don't build the image on the same host as Umami is being run, simply log in and push the image:
docker login
docker push my_docker_username/umami:latest
Update the /opt/umami/docker-compose.yml file accordingly:
image: my_docker_username/umami:latest
Pull new image on the host and restart:
cd /opt/umami
docker-compose pull
docker-compose up -d
Configure
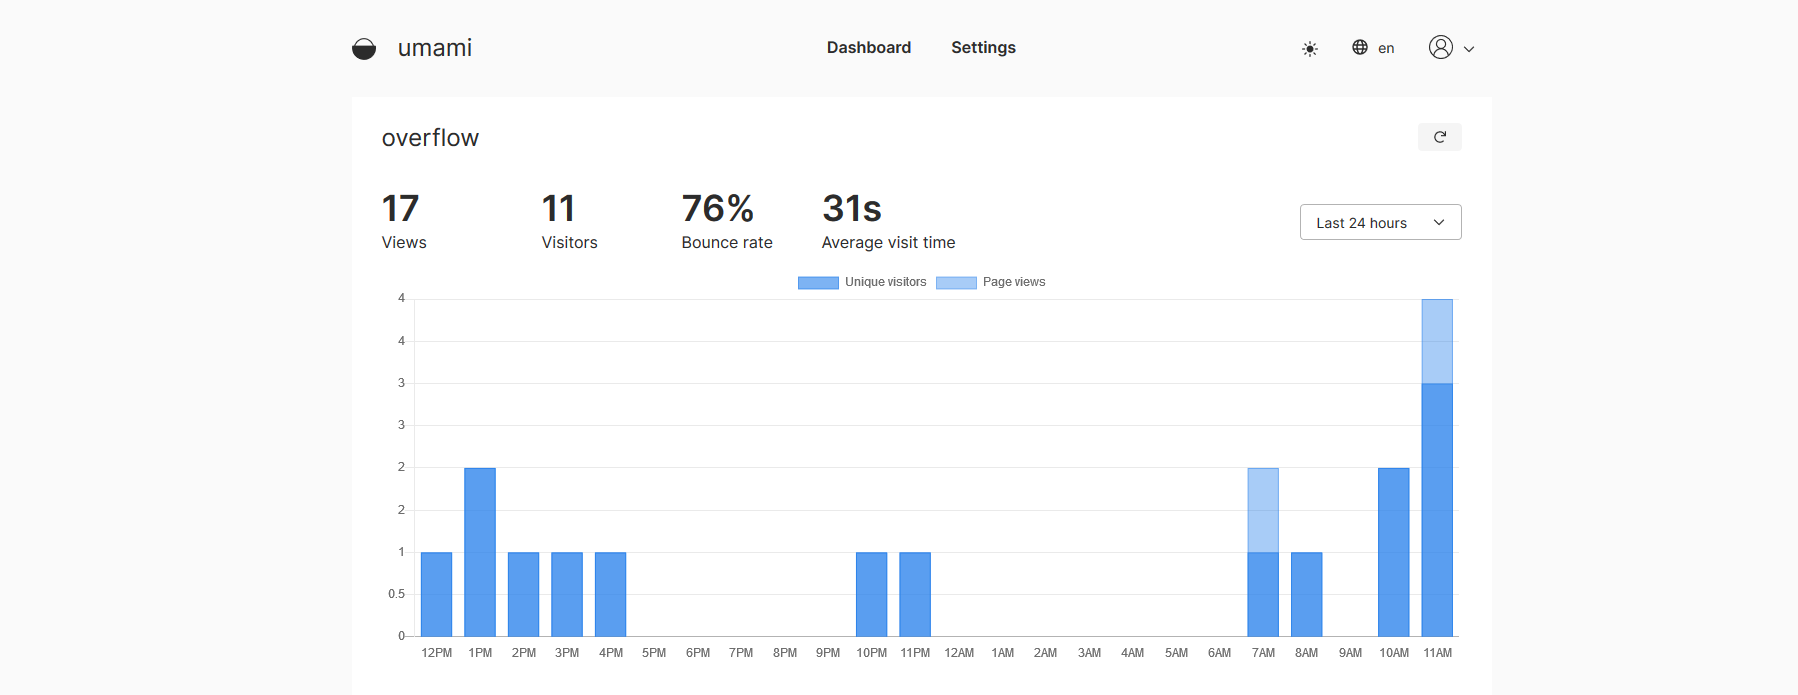
Login and change password. Set preferred timezone and dashboard frequency. Please refer to the documentation on login.
Add your site as described in the docs and copy the <script> tag into <head> section of your base HTML template. Remember to add your Umami host to your Access-Control-* headers if your other sites are on another domain.
That should be it and Umami should start collecting basic analytics from your site. For more advanced usages, see the official docs on tracking events or advanced tracker functions.
Upgrading
Pull the latest changes in the repository, and check if there are any changes to the docker-compose.yml file or the sql/schema.postgresql.sql file. If there are, you will need to update those on your host and replace the fields from the previous chapter.
If building image from source, re-run the previously mentioned build command and push the new version.
Log into your host, pull latest image and restart the containers:
ssh my_host
cd /opt/umami
docker-compose pull
docker-compose up -d
